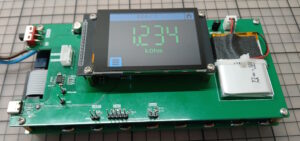
Building the device
Building the device
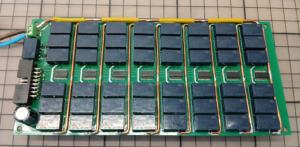
This was one of my first projects and I was not sure if my SMD soldering skills were already sufficient to tackle this assembly. Especially, as the TS3USB221 switches come in really tiny UQFN packages. I therefore decided to have the board assembled by JLCPCB and the 5 boards turned out to be perfect. JLCPCB assembled only the SMD components so all I had to do was solder in the through hole parts (connectors, LEDs, pushbutton etc.)
Costs
JLCPCB charged around 35USD per board including parts and assembly. This does not include the through hole parts which I assembled myself. If you decide to solder the board yourself it will be cheaper as the assembled SMD components cost only around 20USD. Also, if you only need one or two boards there is no need to have 5 pieces assembled which is the minimum at JLCPCB.
Gerber files, BOM and placement files are included in the download packet if you want to order the PCB (and assembly).
Enclosure
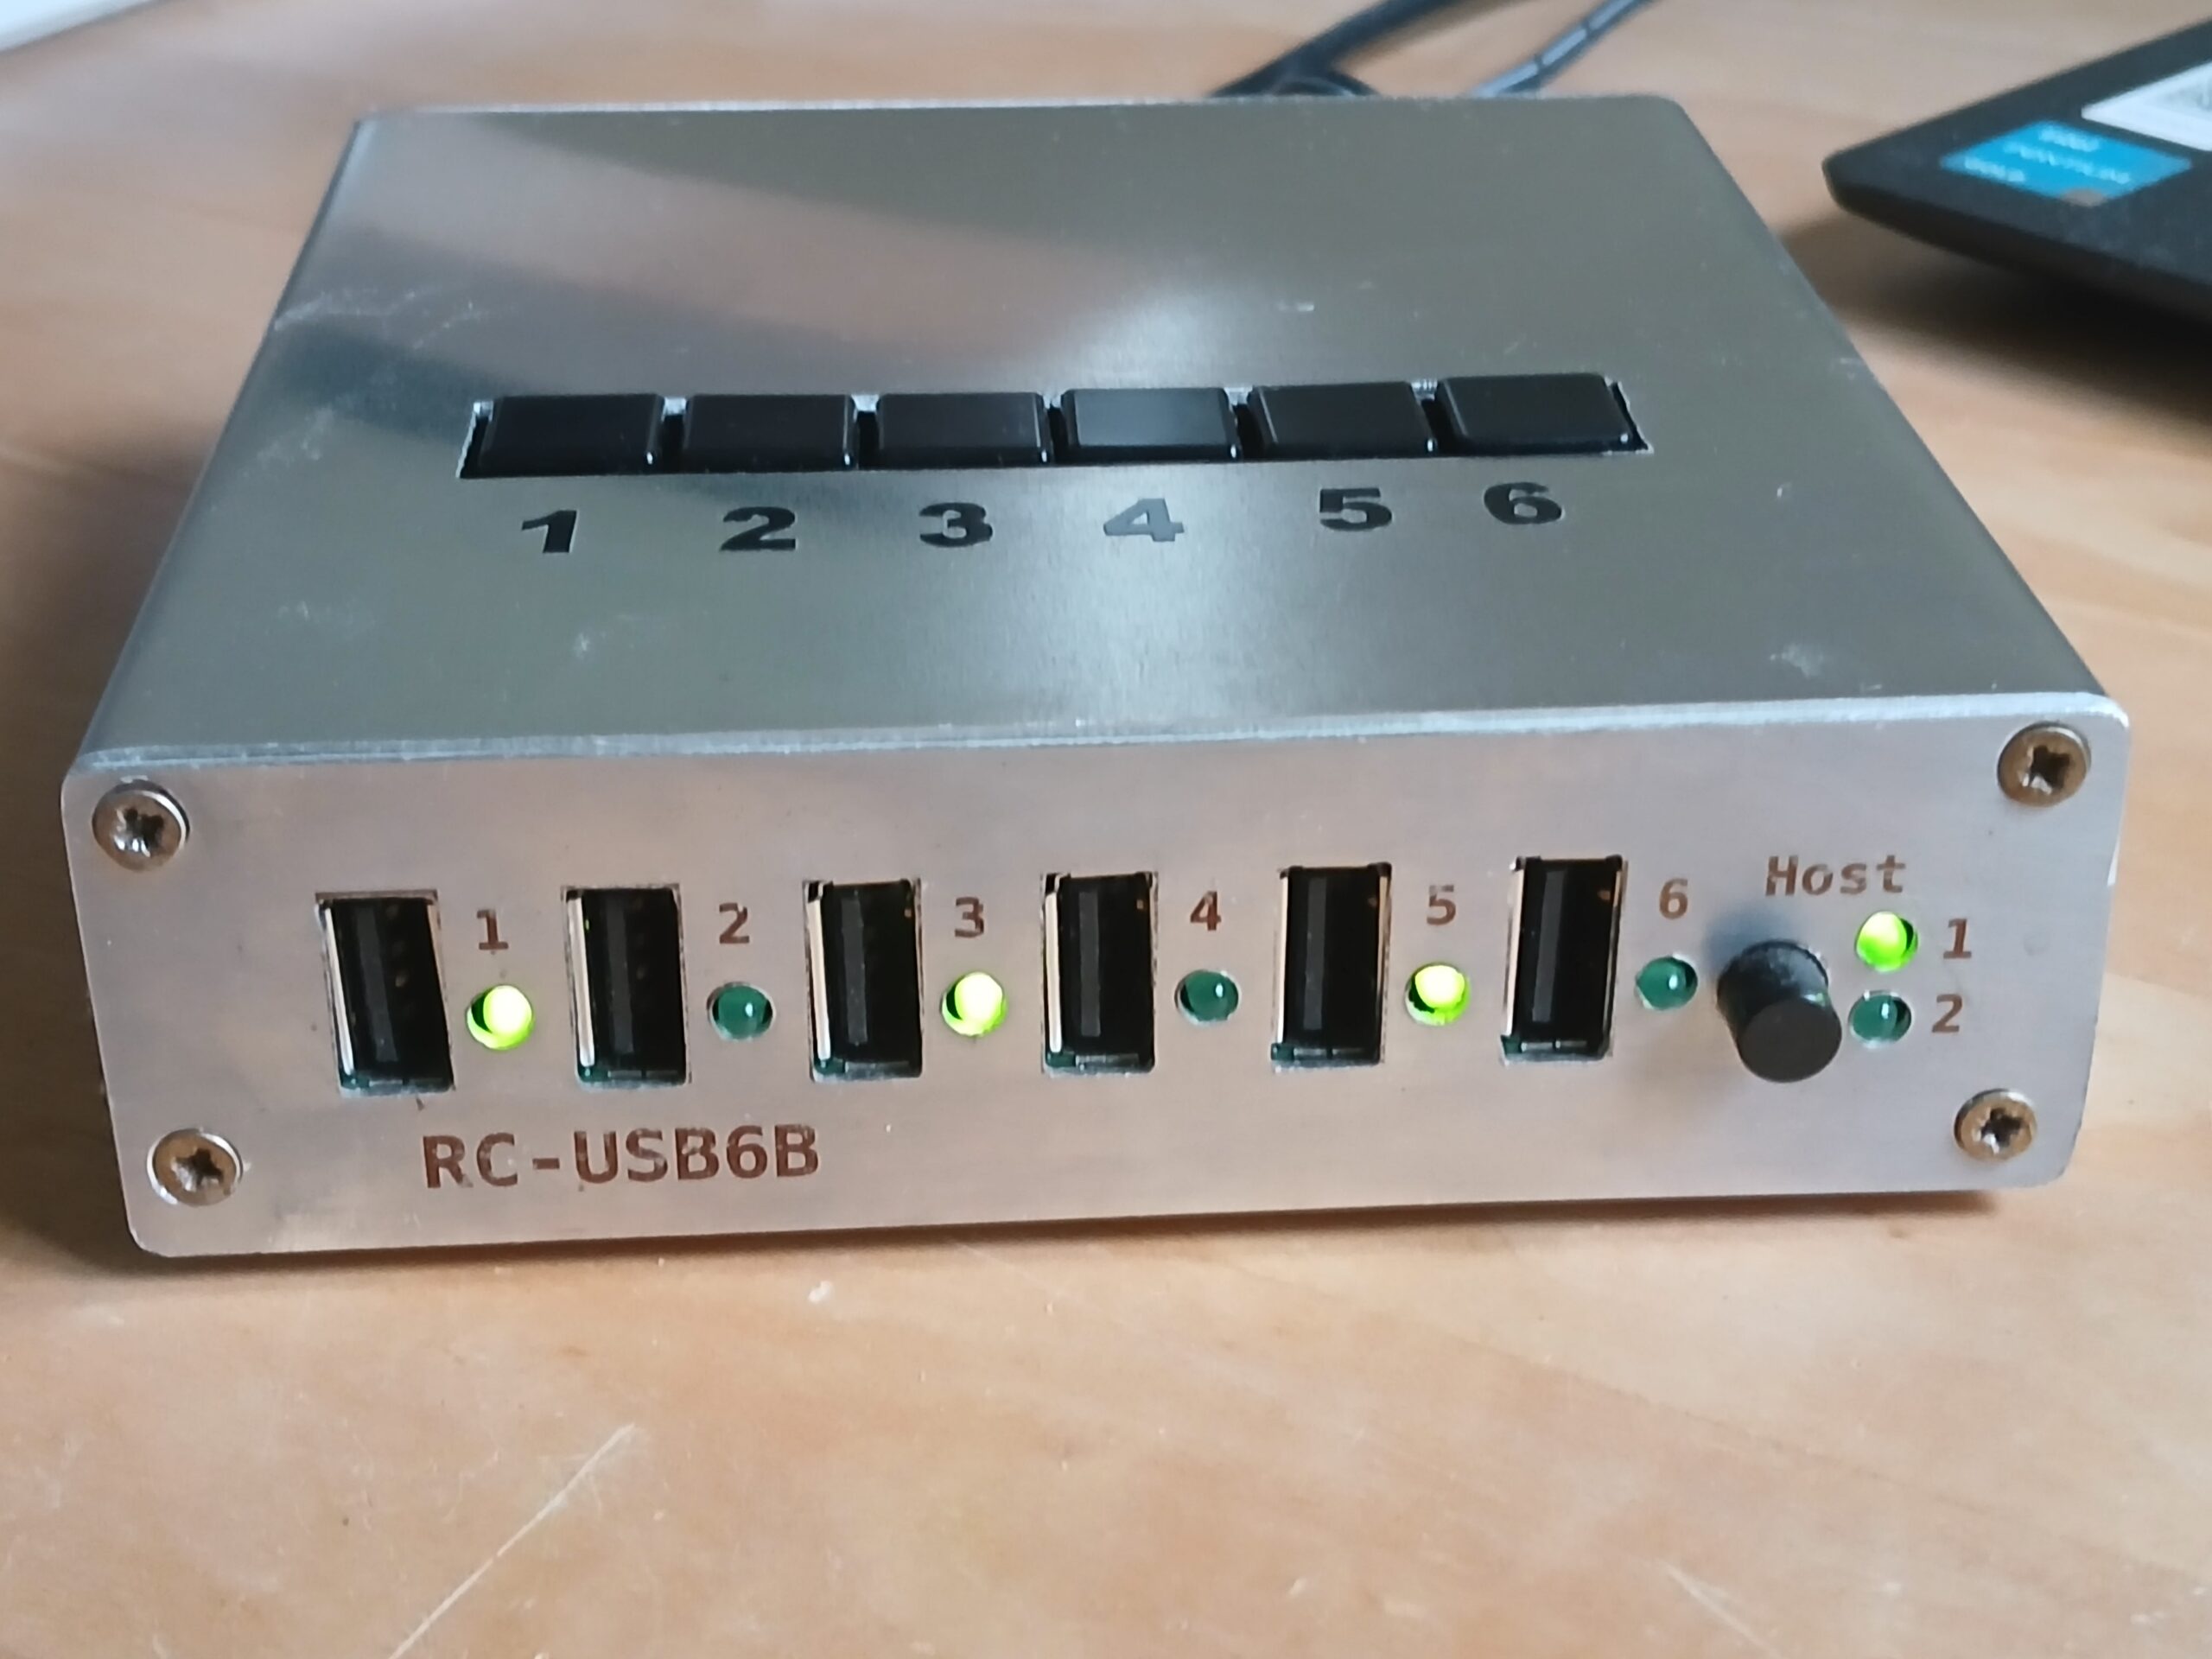
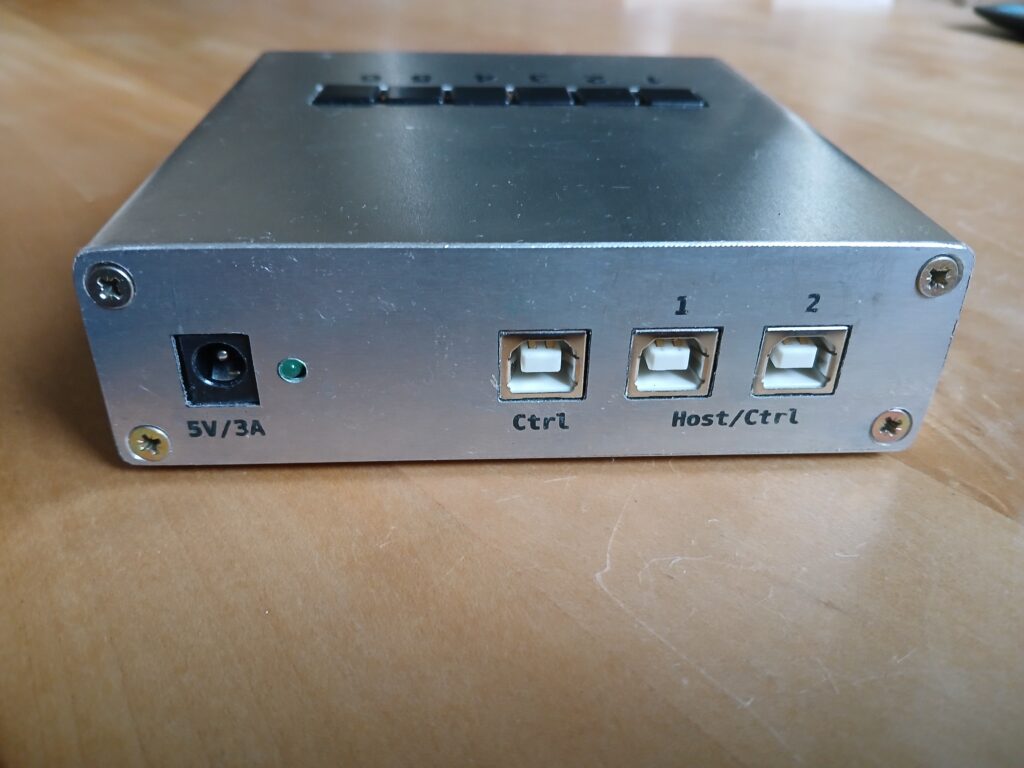
In put one of the boards into a Hammond 1455N1201 enclosure which I bought for around 18€. (I had to turn it upside down for the board to fit in.) Two of the other boards I put into enclosures I made myself and connected the external pins to pushbuttons which I placed on the top side of the box. This way a port can easily be turned on or off by pressing one of the buttons.
How to Build it Yourself
This is how you can build the device yourself.
Download Fabrication Documents
The fabrication documents are available for download here. The archive includes:
- Schematics as PDF file
- BOMs as CSV files
- Gerber files ready for upload to a manufacturer
- 3D-views of front and backside of PCB
- Fab-layers in the Gerber file set for easier parts placement
- Firmware binary with download instructions
- Documentation
Order Parts and Have PCBs Manufactured
To build the device order the parts from your favourite supplier (LCSC, Mouser, DigiKey etc.).
Have the PCBs manufactured by a PCB manufacturer.
Solder PCBs
Apart from the TS3USB221 switches, which are indeed quite tiny, soldering the boards should not be too difficult. The standard component size is 0603 which should be easy to solder.
Program Firmware into the MCU
Download STM32CubeProgrammer from ST’s website and follow the instructions in the HowTo document to program the firmware into the MCU. The green LED should start pulsating if the firmware is up and running. The firmware is time limited and stops after 30 minutes. To continue you have to restart the firmware. This limitation can be removed by entering a registration key which you can get for free if you send me an email with the device’s serial number. The serial number is returned as part of the SCPI IDN-string.
Using the UART interface
The UART interface can help when bringing up the device. It outputs status information which can be useful for troubleshooting. Connect a serial interface with settings 115200/8/N/1 to the TX pin.